Design Opportunity
I made the decision to redesign a standard keyboard, focusing exclusively on the essential features that a typical daily user would genuinely require in a keyboard, all while minimizing the overall footprint to create a much cleaner and more organized workspace. Throughout this exciting adventure of conceptualizing and creating a new keyboard, I had the incredible opportunity to interact with various professionals in the fields of materials science, electronics, engineering, and manufacturing. I was fortunate enough to receive valuable insights and excellent recommendations from several reputable companies throughout this process, helping me to keep costs as low as possible, while also guiding me on avoiding potential pitfalls to ensure manufacturing remained highly efficient.
Research & Teardown
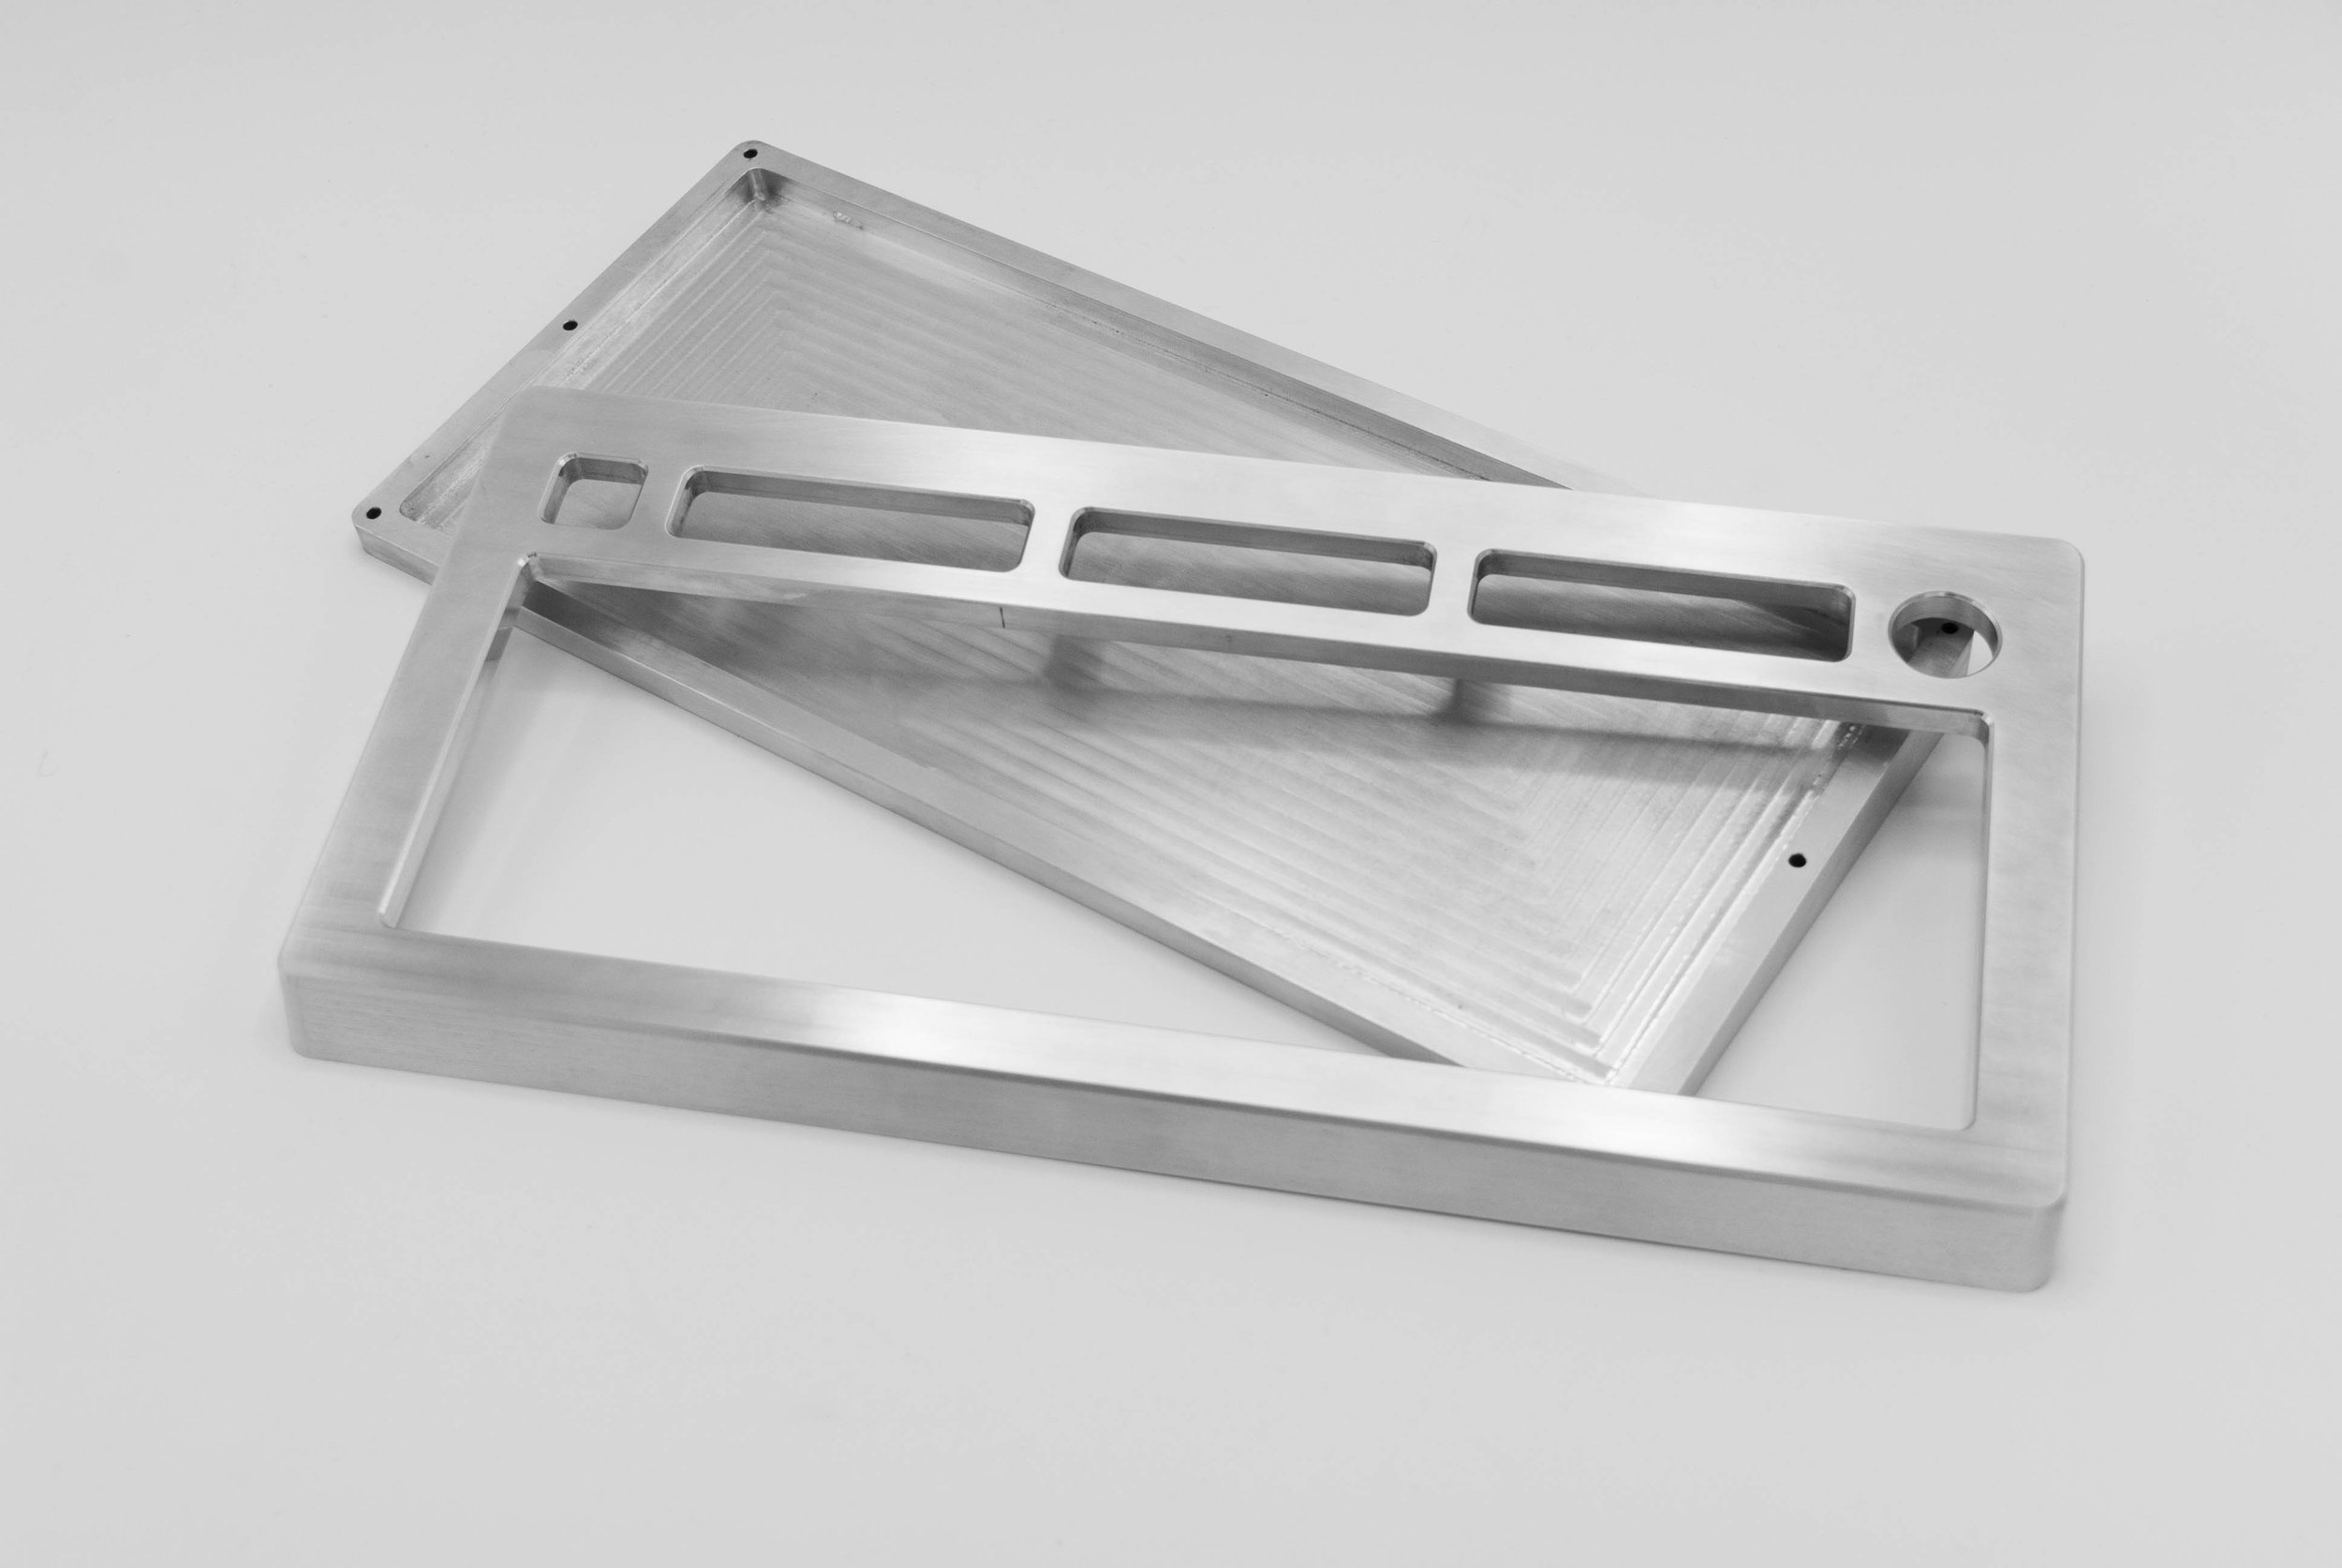
There are essentially three primary components that make up a keyboard: the printed circuit board (PCB) along with the switches, which are essential for registering key presses; the plate, which serves to securely hold the PCB and the switches together; and finally, the frame of the keyboard, which is designed to house all of these elements in a cohesive and functional manner.

Early Concepts

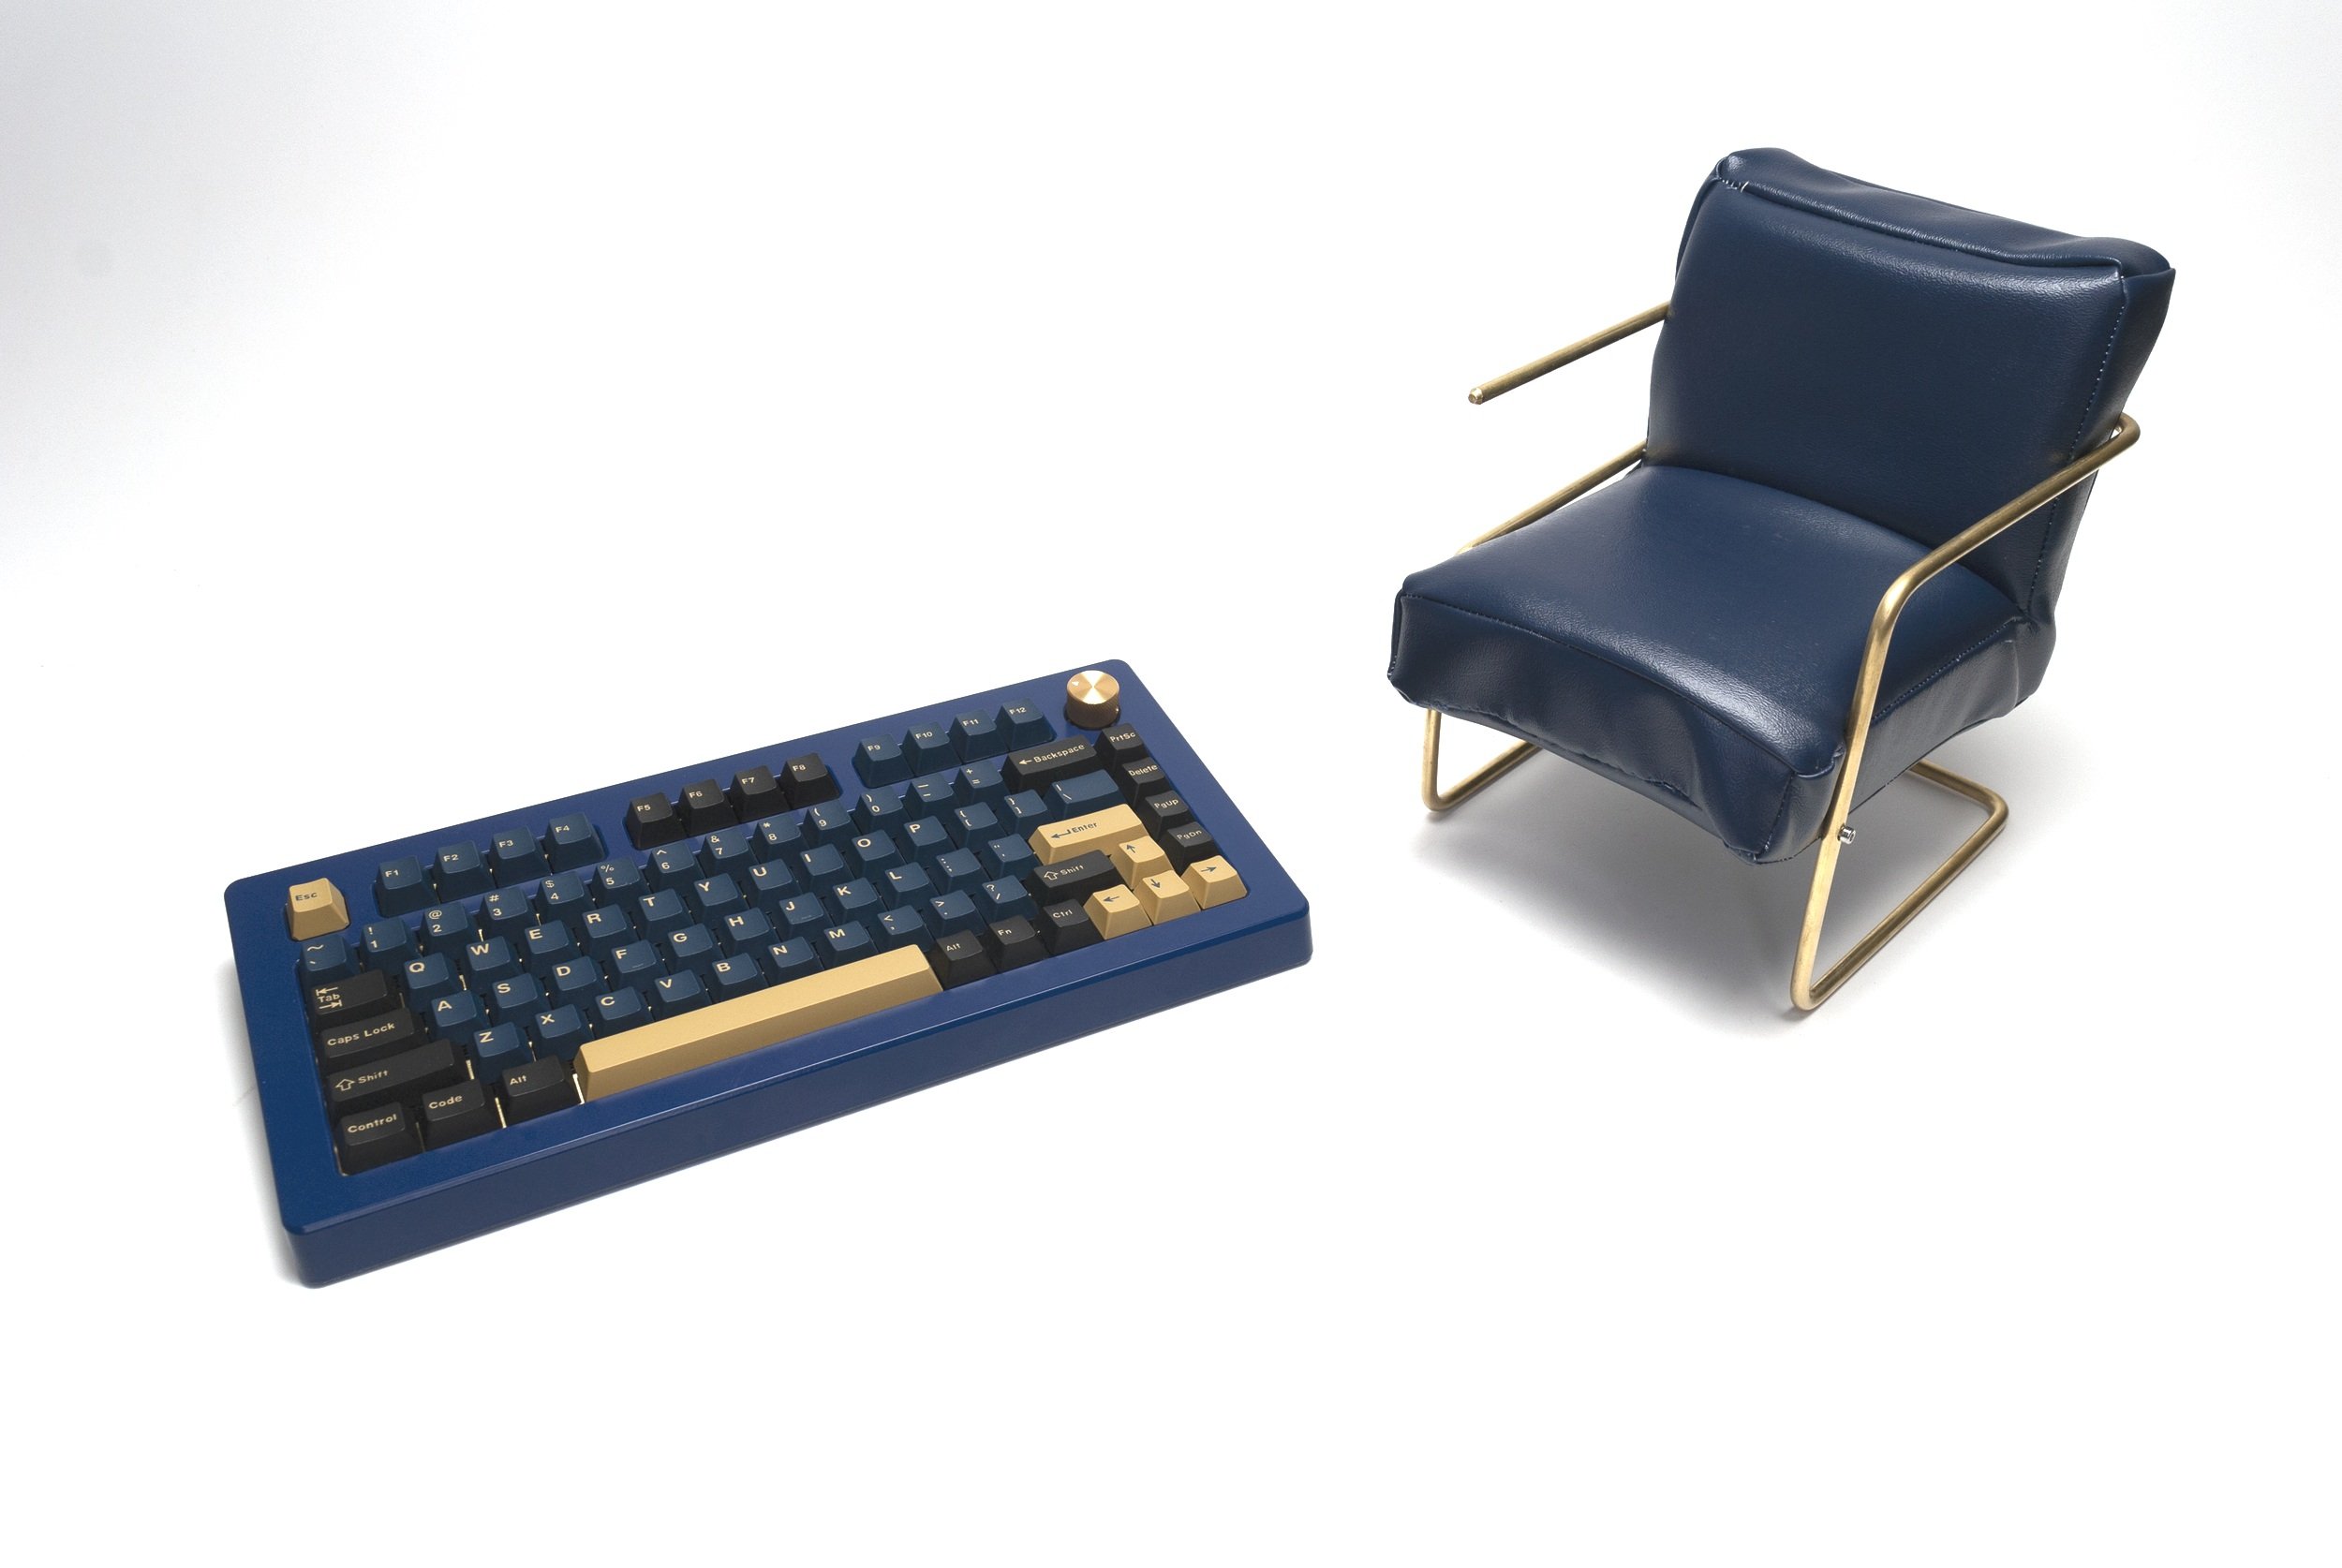
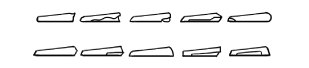
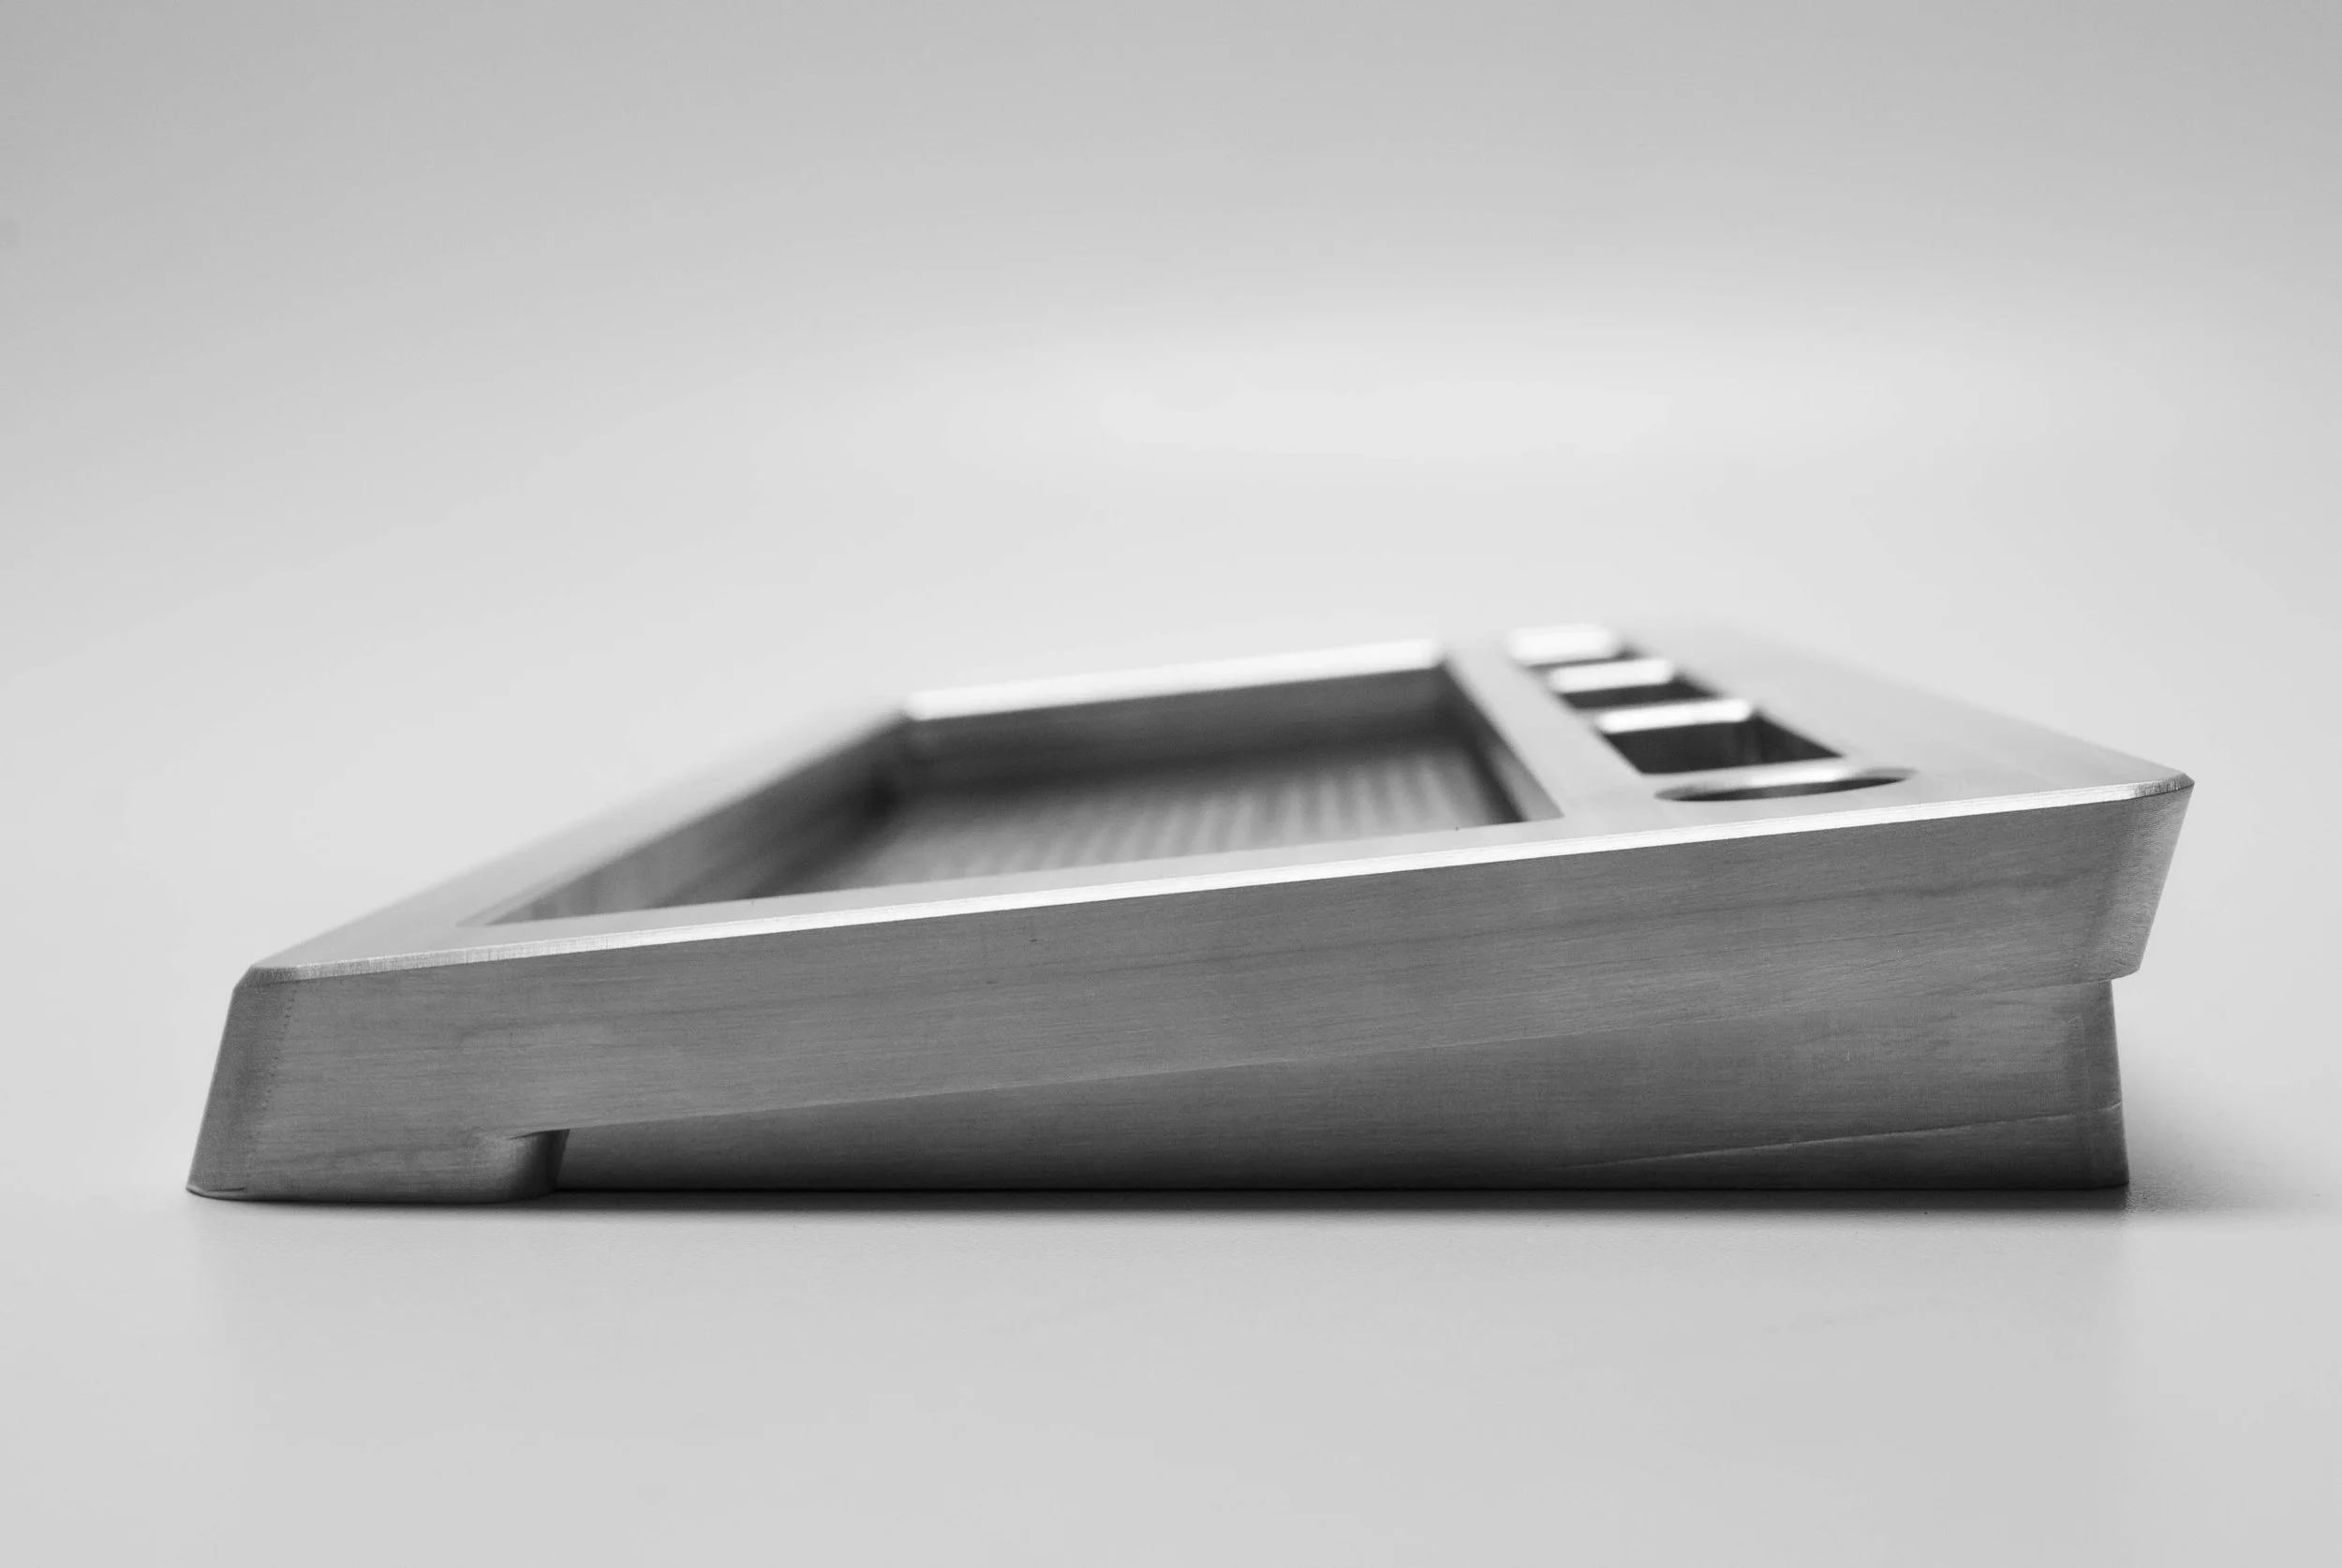
I wanted to design a keyboard, but I first had to carefully consider how I would envision the side profile to appear. After much deliberation, I ultimately ended up choosing a simple design for the keyboard because it allowed the silhouette to present a more minimalistic form. To elevate the concept further, I decided to push it beyond the ordinary by incorporating an extra angle in the rear, adding a unique touch to the overall aesthetic.


Initial Flaws
In this particular phase of the project, I discovered many significant flaws in my initial design, such as how the wrist rest was positioned too high, which would impact user comfort. Additionally, I learned that chamfering the edges was far easier for the engineers to implement than using the more complex fillet technique. Moreover, I realized that the overall silhouette of my design made it nearly impossible to accommodate my electronic components effectively.
Designing a PCB
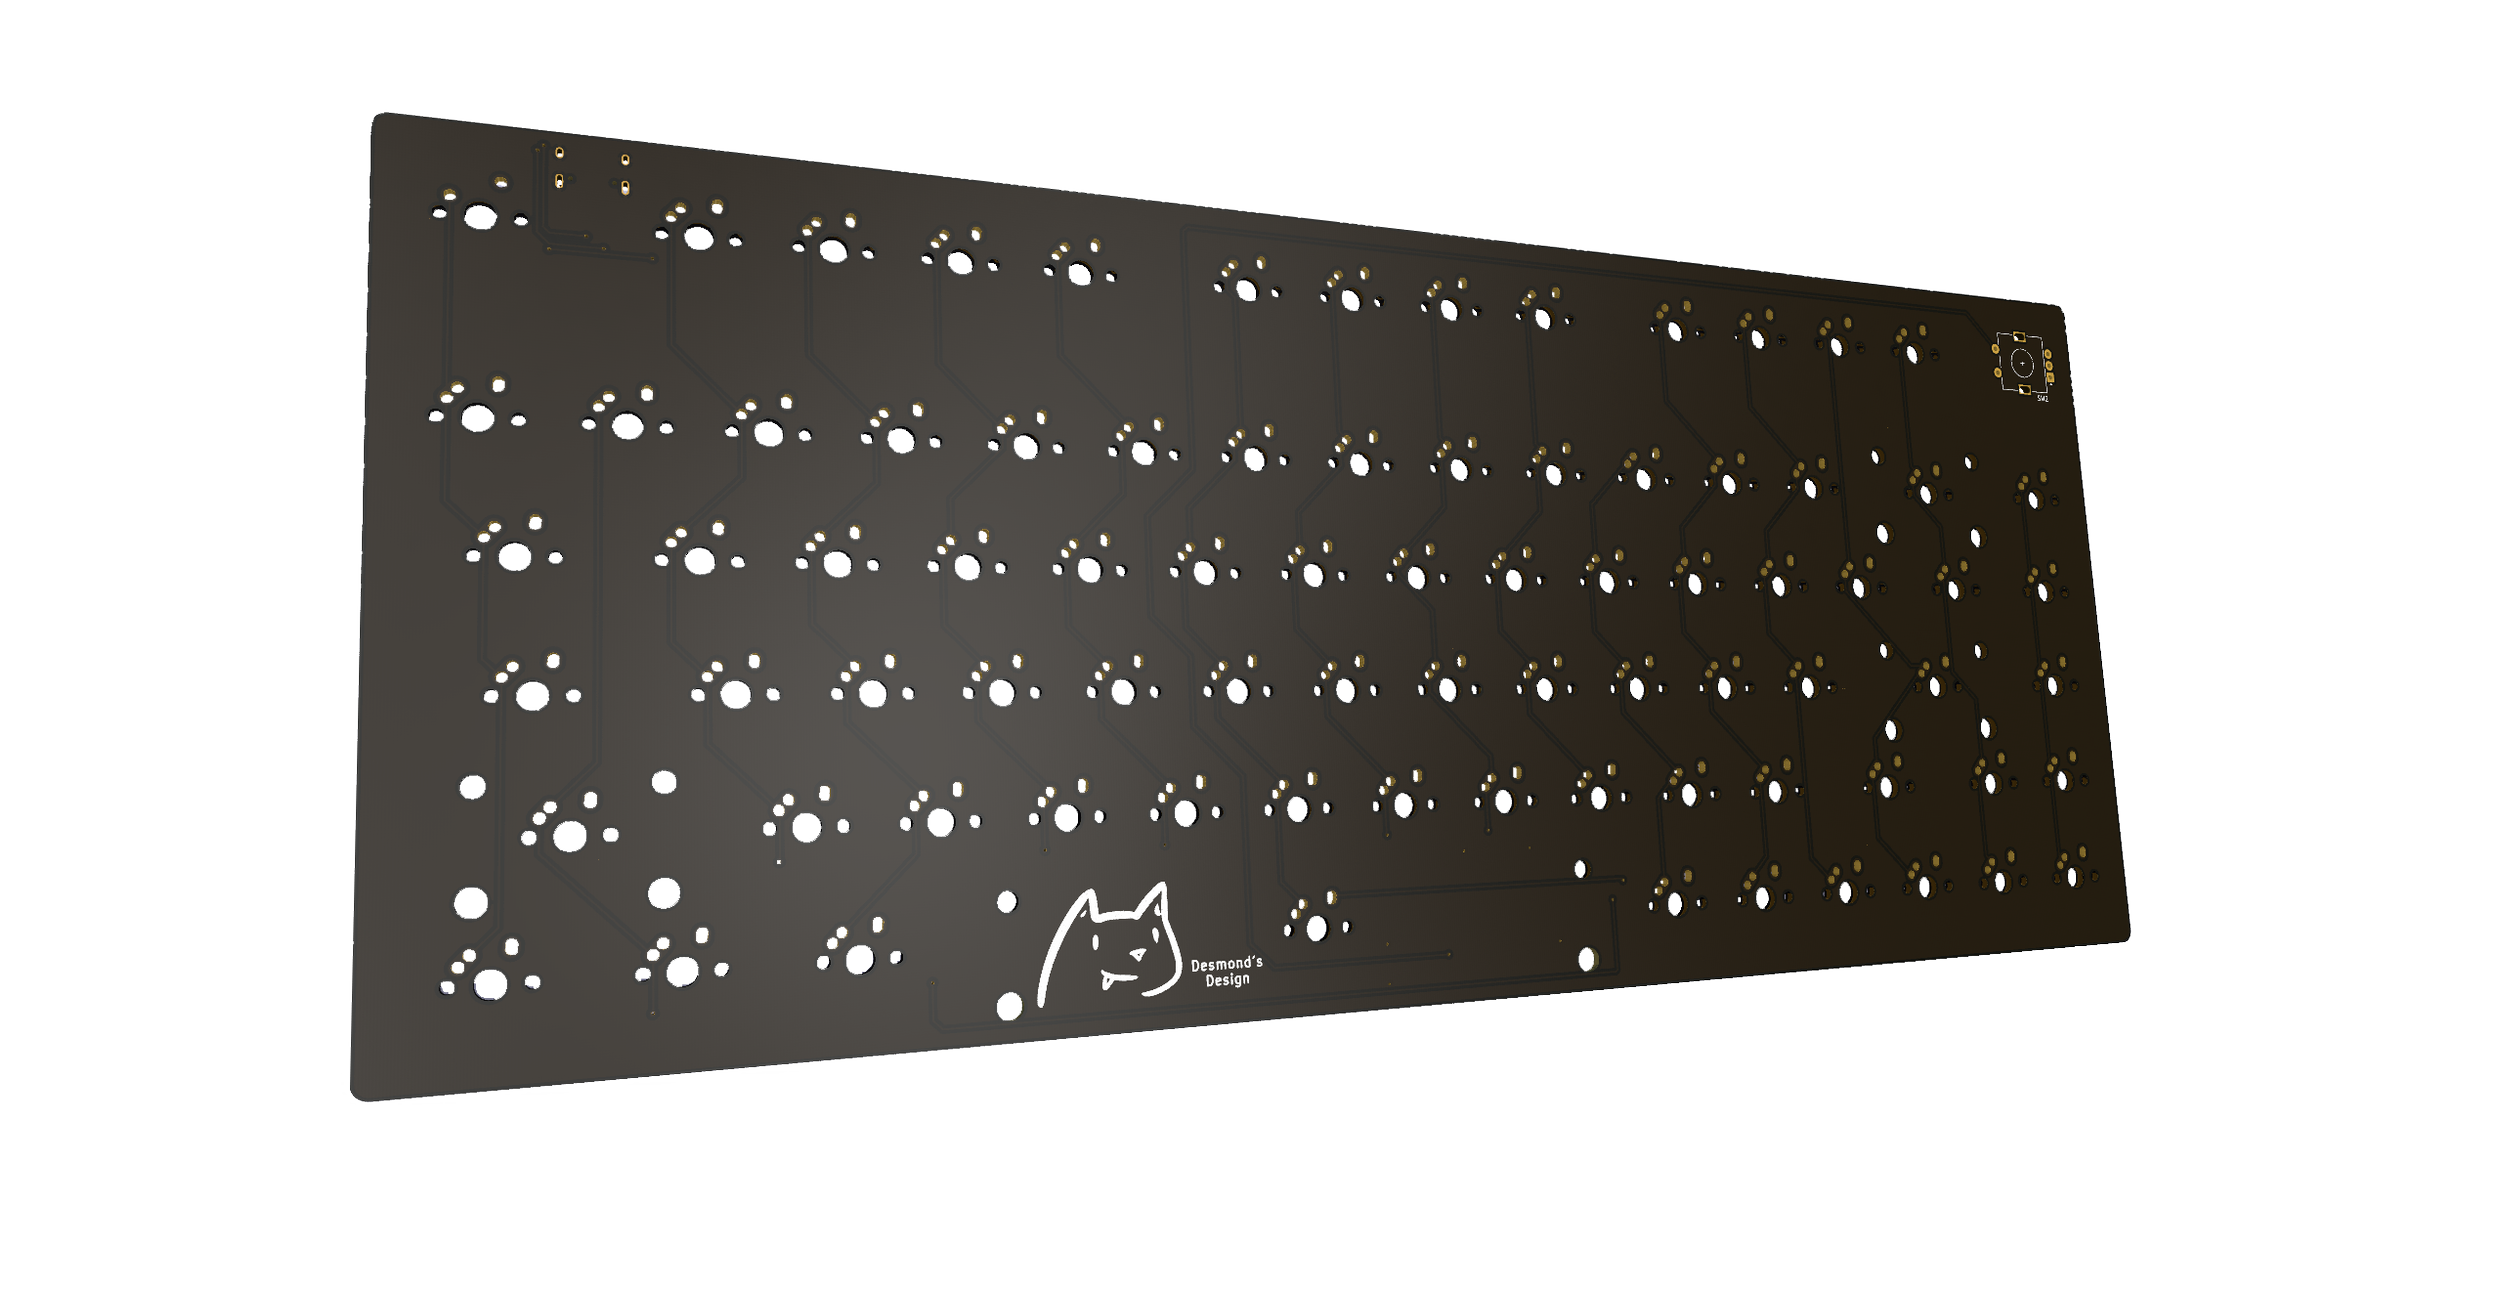
Learning how to design a PCB for a keyboard was a task in itself because finding any sort of documentations was extremely difficult when it’s not the top result on google.
The PCB was the most tedious part of the entire project so after designing the entire layout of the electronics, it was time to design the form of the keyboard. This was probably one most stressful process as well because I needed to order the manufacturing and assembly from China and wait for two whole aching months for it to come mainly because this was being made during Covid and there were shortages.
Machining
The senior engineers dedicated more than 40 hours meticulously machining this exceptional keyboard. After witnessing their remarkable hard work and attention to detail, I found myself genuinely tempted to retain its original appearance without adding any coloring.


Make it stand out.
By removing the numpad and control keys, I was able to effectively reduce the overall size of a keyboard by approximately a quarter. This strategic redesign allows for the maximization of essential functionalities while significantly enhancing comfort. Additionally, this approach grants you the valuable bonus of preserving your precious desk space, making the setup not only more efficient but also more aesthetically pleasing.